On most servers you can use the button Turn On LED in the Storage Devices view so that you can identify which drives can be safely removed from the server easily.
However if the drive is a NVMe SSD (as the ones shown below) this button might have no effect.
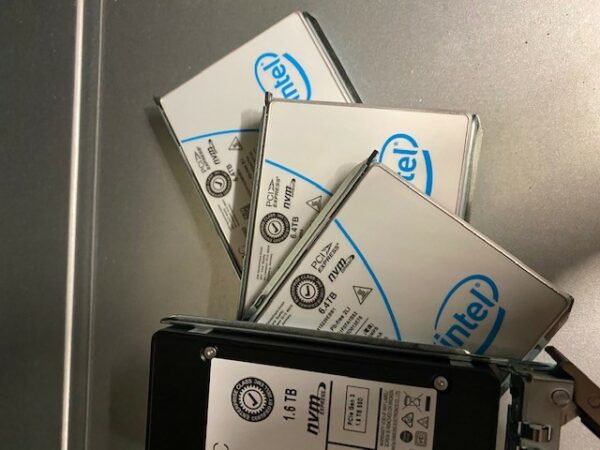
In this example an entire disk group (2 TB cache disk and three 8 TB capacity disks) shall be moved from an ESXi host in a vSAN cluster with spare capacity to a host belonging to a cluster where more datastore space is needed. The process is repeated for all hosts until the storage configuration is homogenous across all clusters, as per vSAN recommendations.
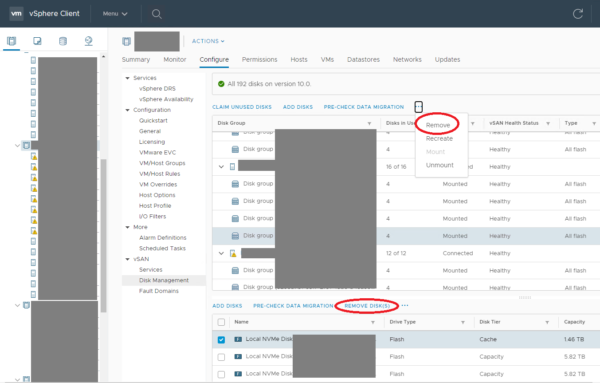
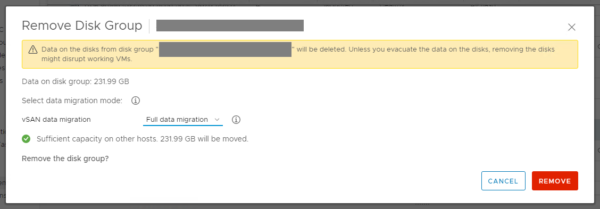
In case of the removal of an entire disk group the following window is displayed where the user must select an option for the vSAN data migration. Full data migration is recommended, as all the replicas for the configured Failures to tolerate policies are kept. Otherwise new replicas have to be re-created manually (Repair objects immediately button in the vSAN Skyline health view) or automatically after the repair delay time. This Object Repair Timer is set to 1 hour by default. So if a failure occurs in the components hosting the only remaining replica before the timer expires and the resync process is completed data loss may occur. The timer can be modified, but lower settings may lead to unwanted behavior, as explained in this KB article.
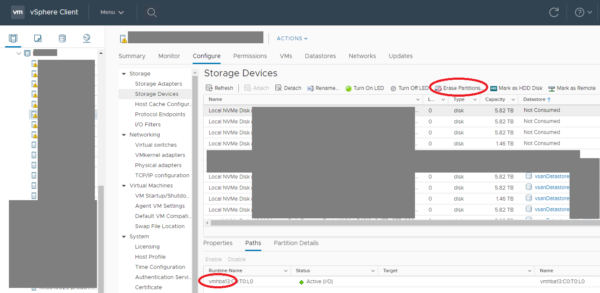
After the disks are removed from the cluster traces of vSAN partitions may remain on it, so I recommend to select the respective disks in the Storage Devices view and click on Erase Partitions as seen in below screenshot.
If you forgot to do this and it fails (e.g. on a different server, where the disk has been relocated to, before erasing the partitions on the old one) check the instruction in my previous post.
For identifying which bay the NVMe drive is located in you just removed and erased write down the vmhbaX number found in the Path view below.
Now connect to the ESXi host via SSH and find the bus ID using the lspci command (filter using grep to narrow down the results):

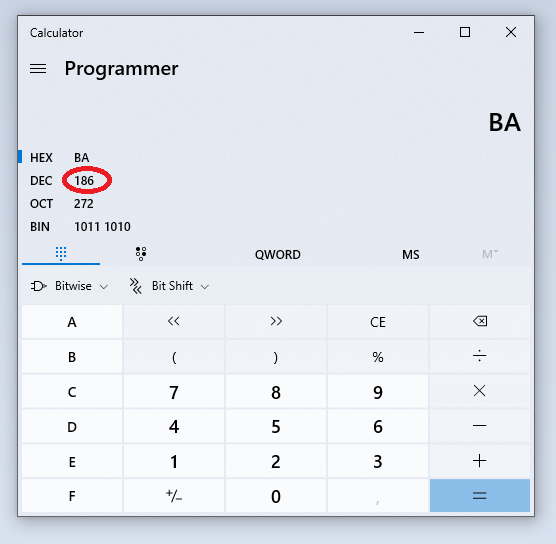
Convert the hexadecimal number after the four leading zeros to decimal representation using your favourite tool, e.g. programmer calculator:
In the iDRAC web-interface of your Dell server open the System/Storage/Physical Disks view and find the disk with the bus ID number calculated above.
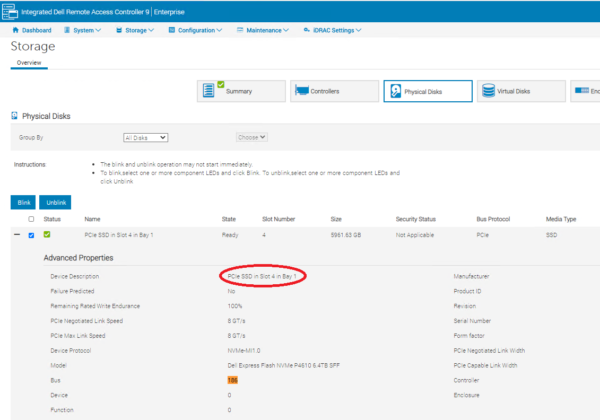
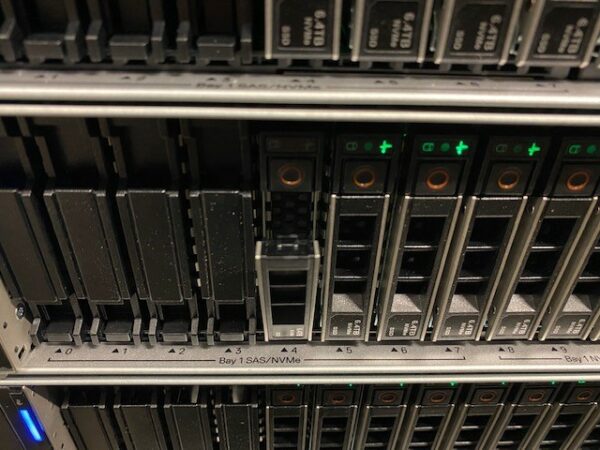
The string in the Device Description field gives a human readable representation of the drive�s position. Now you know which drive you removed from the vSAN cluster earlier and can safely remove it from the server:
More details, e.g. how to use the racadm CLI tool instead of the iDRAC web-interface, can be found in this KB article by Dell.
